Using Alcohol Inks and Acrylic Paint to create a “Wow” Middle School Art Project
As art teachers, we are always looking for those “wow” projects that make everyone say “How did they do that?!” This middle school art project is definitely one of those! I hang them in the lobby windows at school and the light streams through them like stained glass. The best part is, they are painted on a fairly common and easy-to-find material—overhead transparencies!
When I first started teaching art, I had a closet full of random objects and obscure materials left by the previous art teacher (some of which I am still working through years later). One of the best finds left behind in a cabinet was a stack of overhead transparencies. Remember the days of the overhead projector? This was cutting edge technology when I was in middle school and high school in the nineties! Over the years, my students have created some of their most beautiful artwork on these sheets of plastic!
Silhouettes and Sunset Skies
I teach sixth grade art elective where the students come to art twice a week, and one of the projects that I “inherited” from the previous teacher’s lesson plans was a silhouette painting project. For that project, students would paint a colorful sky with watercolor or tempera, then use black paint to add silhouettes (shapes of objects that appear black because the light is behind them). These turned out fine, but since I had them doing other painting projects during the year, I wanted to find something a bit more exciting.
As I thought about how to tweak that silhouette project and make it a bit more interesting and challenging for the students, I considered how we could possibly use the overhead transparencies. I researched what media, other than Sharpies, would color on the plastic and still appear transparent for the sky.
On youtube I found a video of someone dripping alcohol inks onto plastic and blowing the inks with a straw to make rather abstract “flowers.” This technique appealed to me because of the randomness and unpredictability of the patterns created by blowing through the straw—my sixth graders had just finished a unit on observational drawing and I wanted to give them a chance to do something a bit more “free” (which is actually hard for some of them, especially the perfectionist students who love the more controlled media and processes).
First Things First: Plan It Out
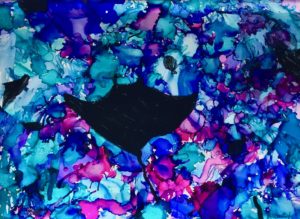
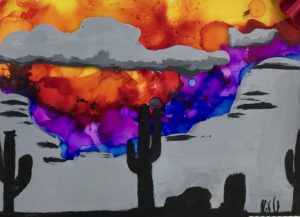
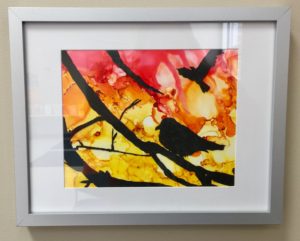
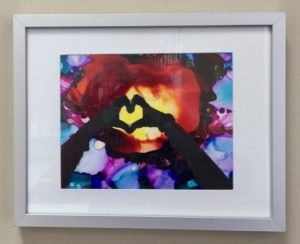
First, I had students sketch out an idea for an image shown in silhouette. Ideas ranged from the Eiffel Tower, to animals on the African savannah, to birds in trees, hands forming interesting shapes, Mary Poppins floating through the clouds, desert landscapes, and even Harry Potter characters playing quidditch on their brooms (all shown in silhouette as shapes against the sky). Some even created sea creatures shown in silhouette under the sea rather than sky.
Painting Silhouettes with Acrylic on Plastic
Students then taped down their plastic sheet on top of their pencil drawing and retraced over their pencil lines with black Sharpies on the plastic. They used black acrylic paint to paint within the silhouetted shapes. We found that it usually took two or three coats of black paint to get it to look solid and eliminate streaks.
This year, students asked if they could use white paint as well to add elements like a moon or whitecaps on waves. Some students chose to use black acrylic paint only, while others added white or mixed gray to add layers and depth to the silhouettes.
Let’s Get Messy! Dripping and Blowing Alcohol Inks
We let the acrylic paint dry, and then during the next class I had students turn the plastic over and create the colorful sky on the back of the plastic. We read Sky Color by Peter Reynolds (one of my favorite authors of books for art class!). Although this book is probably geared toward younger grades, even the sixth graders enjoyed it, and it’s a great reminder that the sky does not always need to be painted blue. We watched the youtube video in class demonstrating how to drip the alcohol inks and blow them around with a straw to spread out the ink.
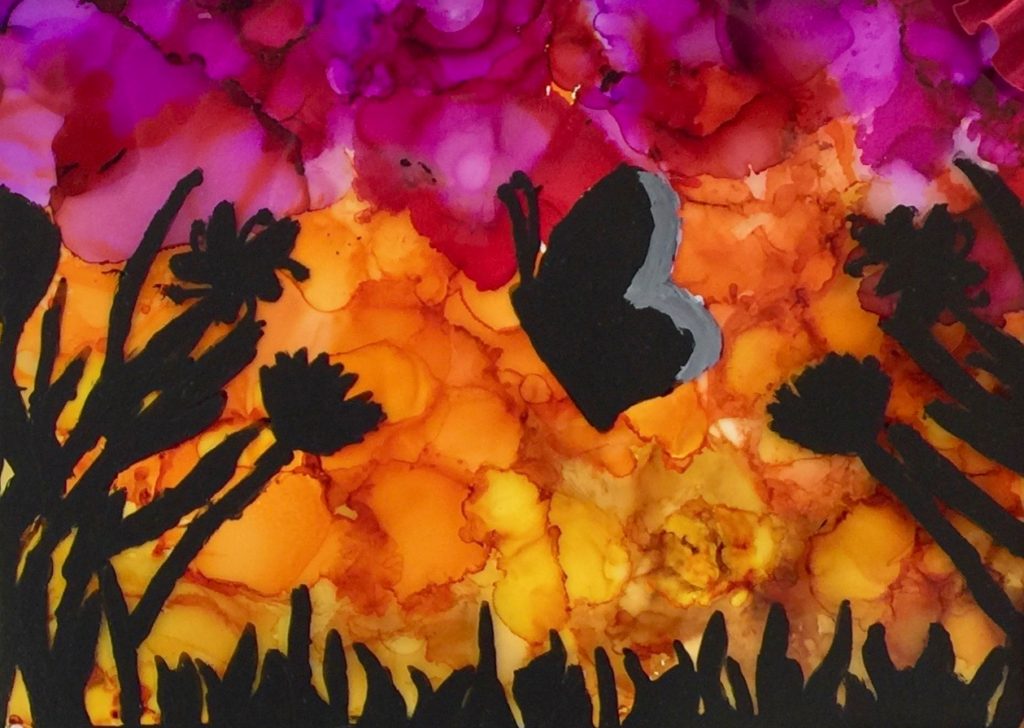
Then sixth graders went to town dripping the colors on plastic and blowing with straws. We discussed how to create a gradation from one color to the next, as you would see during sunset, rather than just random blobs of color everywhere. Some loved the process, while others said they wished they could use a brush to make the colors go precisely where they wanted them. But in the end they turned out to be stunning!
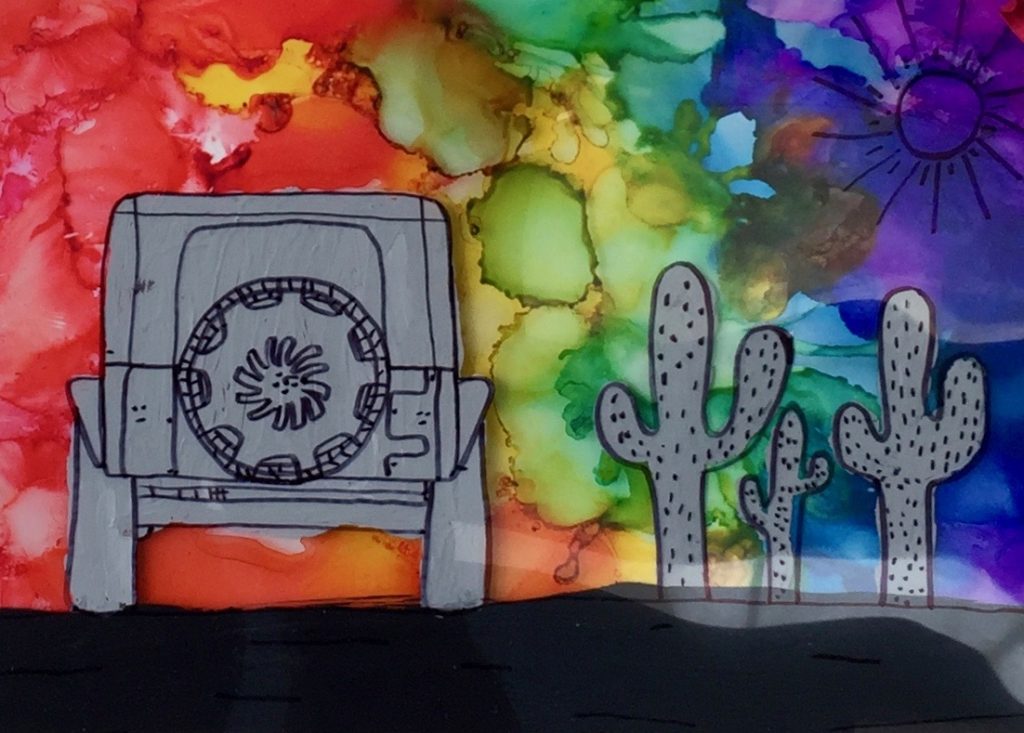
I even had two students add an extra sheet of plastic on top of their silhouette painting (they just glued it on with a glue stick) onto which they added additional Sharpie details! These black lines showed up against their gray paint and added an extra layer of interest. Check out the details on the jeep and cacti!
A Word to the Wise…
If you want to try this, I would definitely only allow older students–middle school or above–to try it. (You don’t want anyone accidentally sucking in through the straw while using alcohol inks!) I also recommend trying this only in a very well-ventilated area, as the fumes are pretty strong from the alcohol inks. I opened my window and turned on the vent hood in my classroom and still told students they could go into the hallway for short breaks if the smell bothered them.
Also, you will want to have your students wear plastic gloves while dripping the alcohol inks (or, in a pinch, they can wear Ziploc sandwich baggies on their hand like we did!). The alcohol inks tend to get all over the hand that is being used for squeezing the bottles, and it’s very hard to get it off. We found that nail polish remover (acetone) helped a bit with getting the ink off skin, but the first year we did this I had quite a few sixth graders with stained hands for a couple of days. But, I think they would say the finished product was worth it!
The End Result
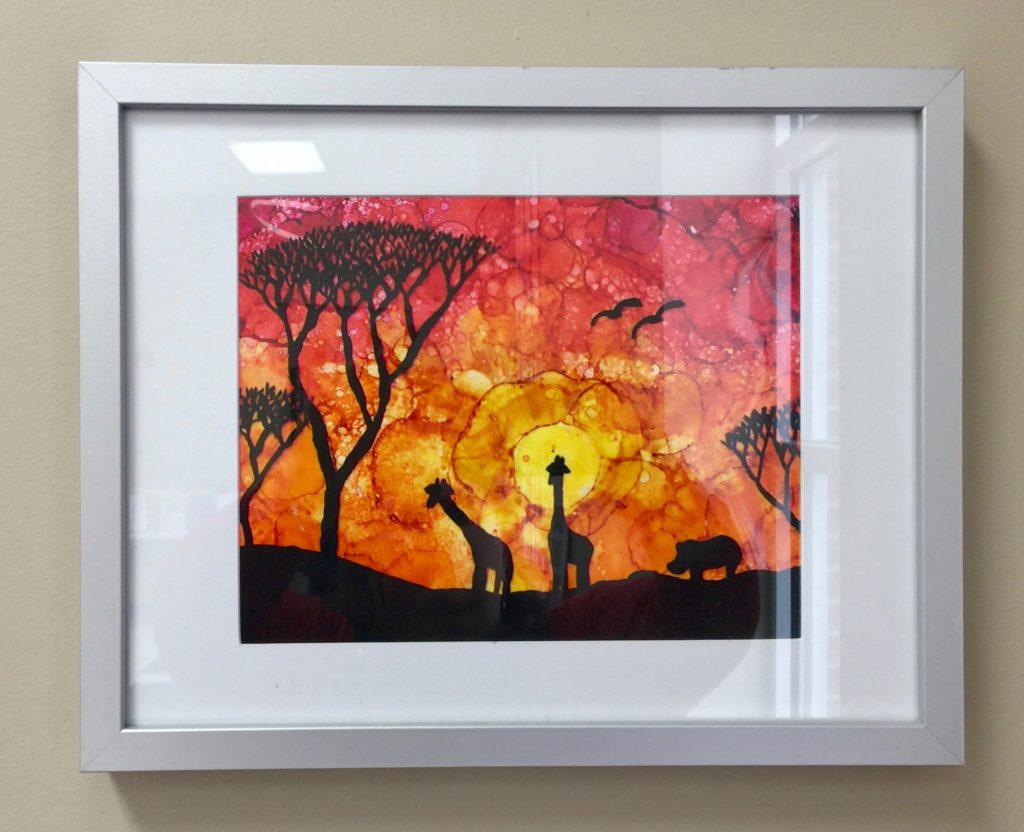
When the ink dries, I hang these in the lobby windows and they are beautiful with the sun streaming in! The bright colors look a lot like stained glass. When entering in art shows, I back them with white paper and mat them as usual.
Last year, when our school redesigned the lobby, the principal asked for me to choose some student artwork to frame and hang, and I chose three of these silhouette paintings. I get so many compliments on this particular middle school art project, and the best part is that it’s one of those projects where almost every student is happy with the end result!
For another art project using overhead transparencies, check out my fourth grade “stained glass” snow globe paintings.
If you try this project, please let me know how it goes and share some photos of your students’ results in the comments below!