H is for Hedgehog
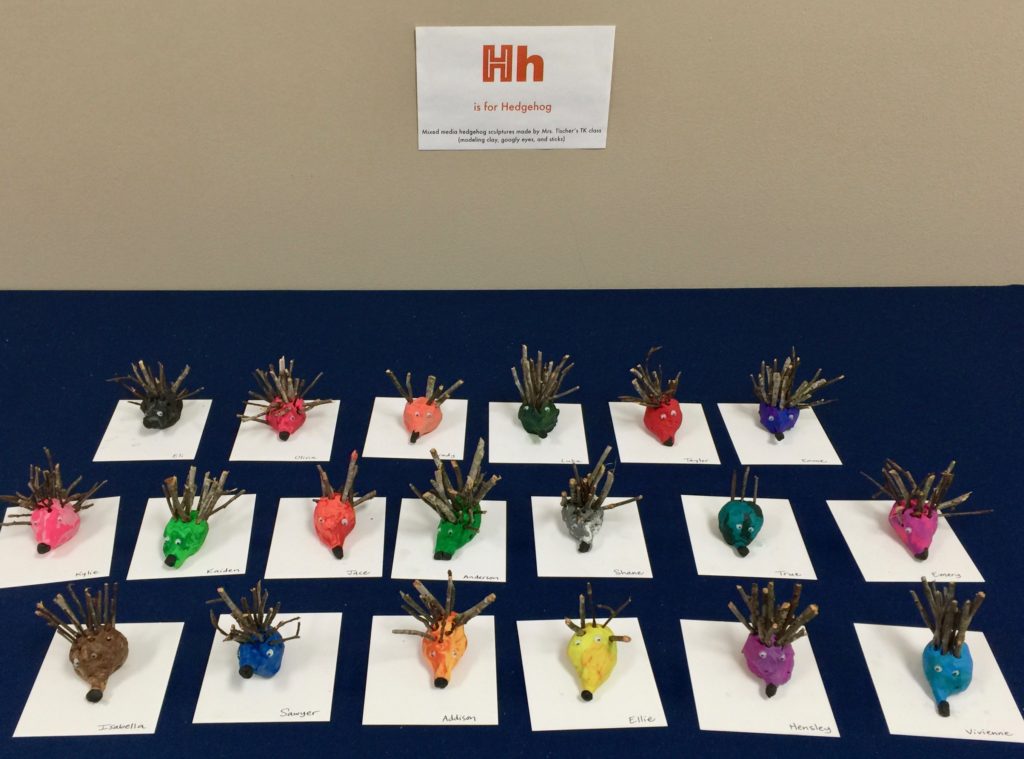
Looking for a quick and easy art project to do with preschool or kindergarten? If you need a preschool art project using natural materials, this one is not only simple to make, but the results are adorable! (And they are extra-cute when you see a whole class’s artwork displayed together.) These “H is for Hedgehog” sculptures are made with modeling clay and twigs!
Our pre-K class learns about one letter of the alphabet each week, so I tie in this project with their study of the letter H. We practice writing the letter H with our fingers in the air, and discuss how “hedgehog” contains two different letter H sounds. I also show them a few photos of hedgehogs before beginning their sculptures. (If you have more time, you could also make connections to their habitat, what they eat, and so on.)
Natural Materials
In the fall, I like to incorporate natural materials into many of my art projects—sticks, leaves, pinecones, whatever we can find. If it works logistically, you could take your class outside to gather some small twigs. If not, you can go ahead and gather them yourself ahead of time. (For this project, you want the really thin little twigs—about as thin as a matchstick.)
You can break the twigs into pieces about two inches long, or have the kids break them. I like to use paper plates for the kids to keep their twig pieces contained, and for them to use as a mat for making their hedgehog.
Making the Hedgehog Body
For the hedgehog body, I use modeling clay like Jovi Plastilina Reusable Modeling Clay. Now, this clay does not ever completely dry out—I let the kids know that this sculpture will be just for looking at when it’s finished, not for playing with. I prefer non-drying modeling clay because it kind of “grips” the sticks very well and doesn’t crack, and the sticks don’t fall out as it dries. However, it will still be pliable when touched, even long after the sculpture is made. I also like the color choices available with this modeling clay. If you are not a fan of this idea, you can definitely try it with Crayola Model Magic or air dry clay. (Let me know in the comments how it works!)
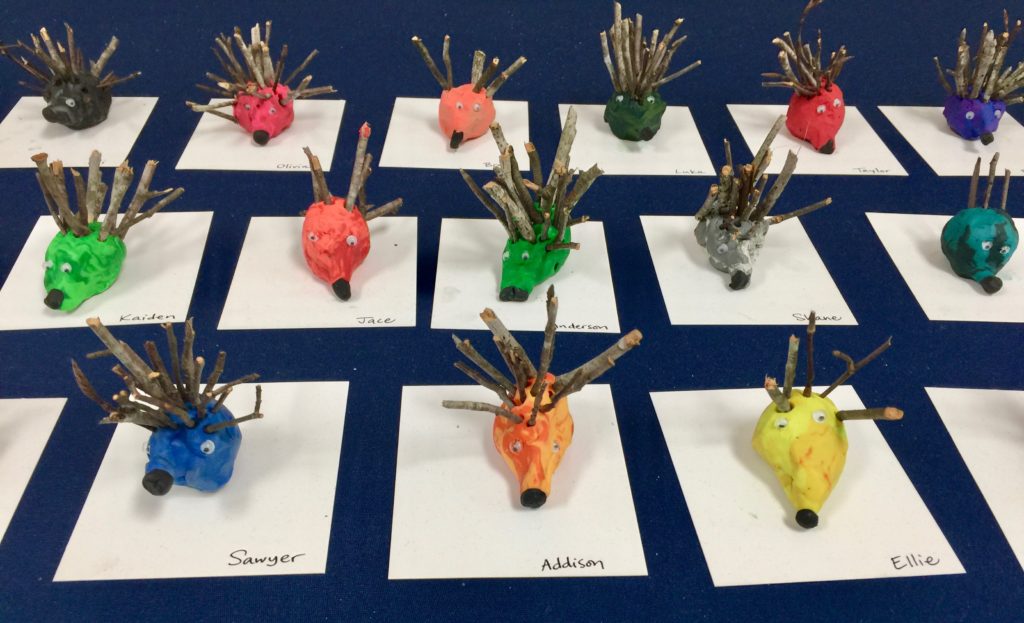
I let the students choose two colors of modeling clay that are close on the color wheel, like green and blue, or red and orange. Then they mush their two colors together, pulling the clay out and mushing it back together over and over until the clay looks swirled. I then demonstrate how to shape the hedgehog body—we make it look like a raindrop, pointed at one end and rounded at the other. They lay the sculpted body on their paper plate and wiggle it a bit to flatten the bottom so that it won’t roll around.
Adding the Details
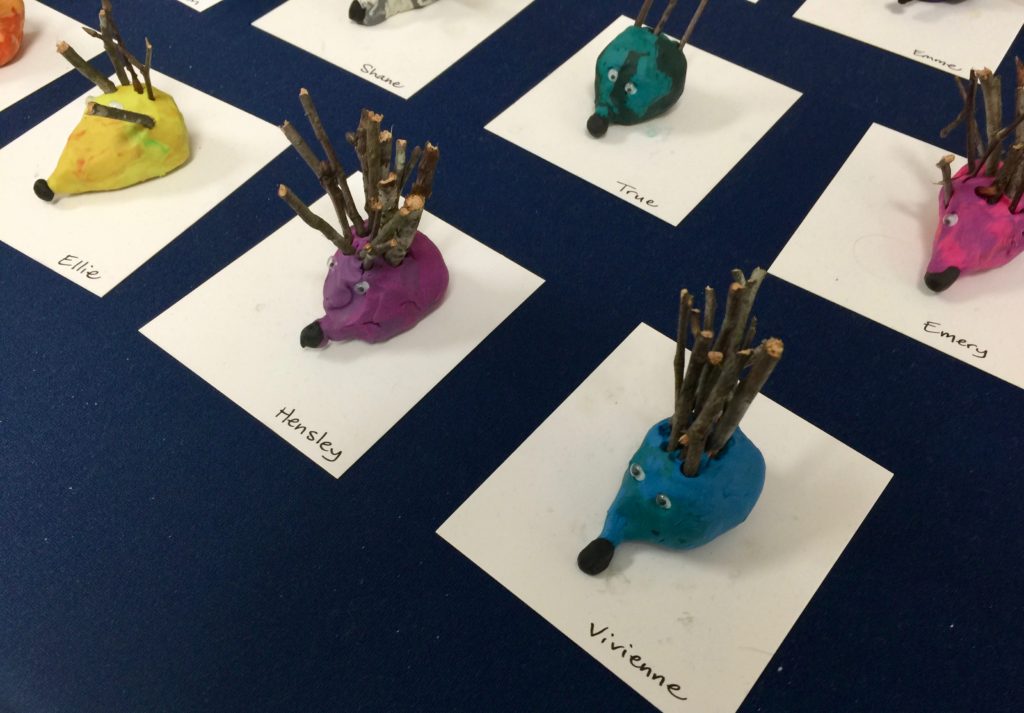
Then they have fun poking the sticks in to make the hedgehog “spikes”. We talk about making the sticks all fan out in about the same direction, towards the back, and leaving the face blank. Some students add all their sticks, while others add about three or four and say they’re done. Either way they are super cute!
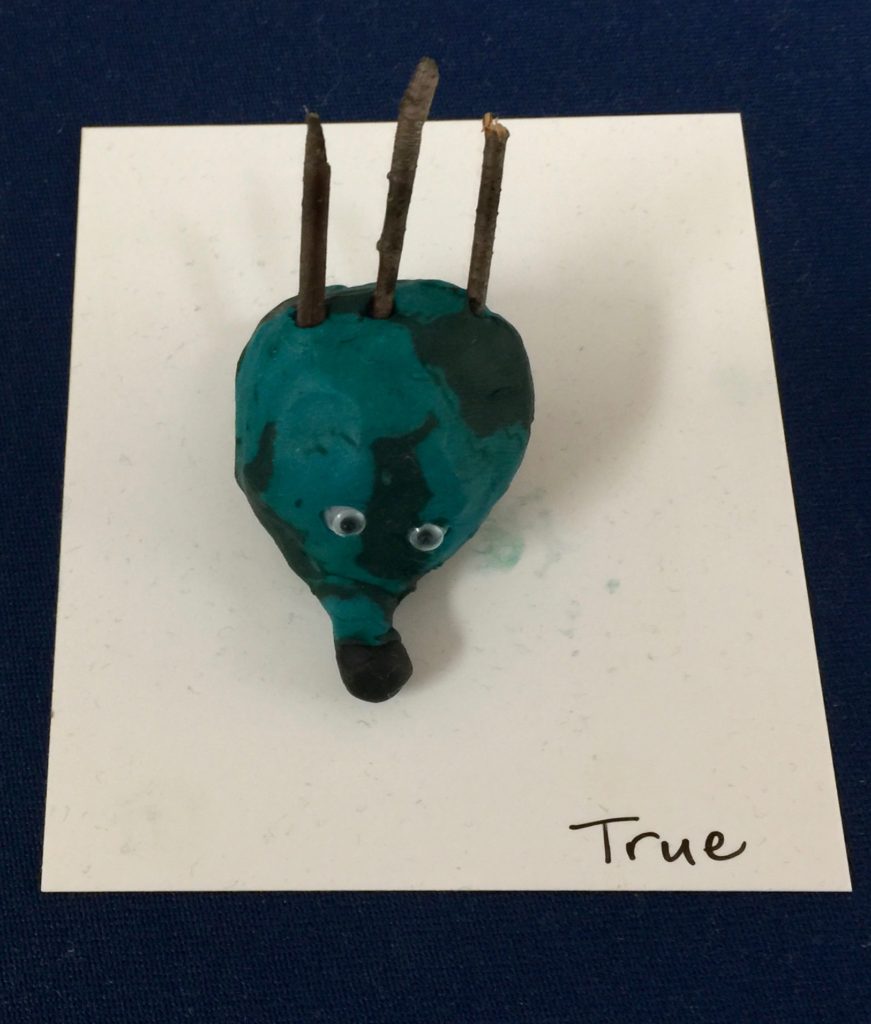
I also give each child a small dot of black modeling clay for the nose and two tiny googly eyes. They stick the nose onto the point of their sculpture and add the eyes just above.
(Side note: they will definitely need to wash hands after using modeling clay, as the color will get on their hands while working!)
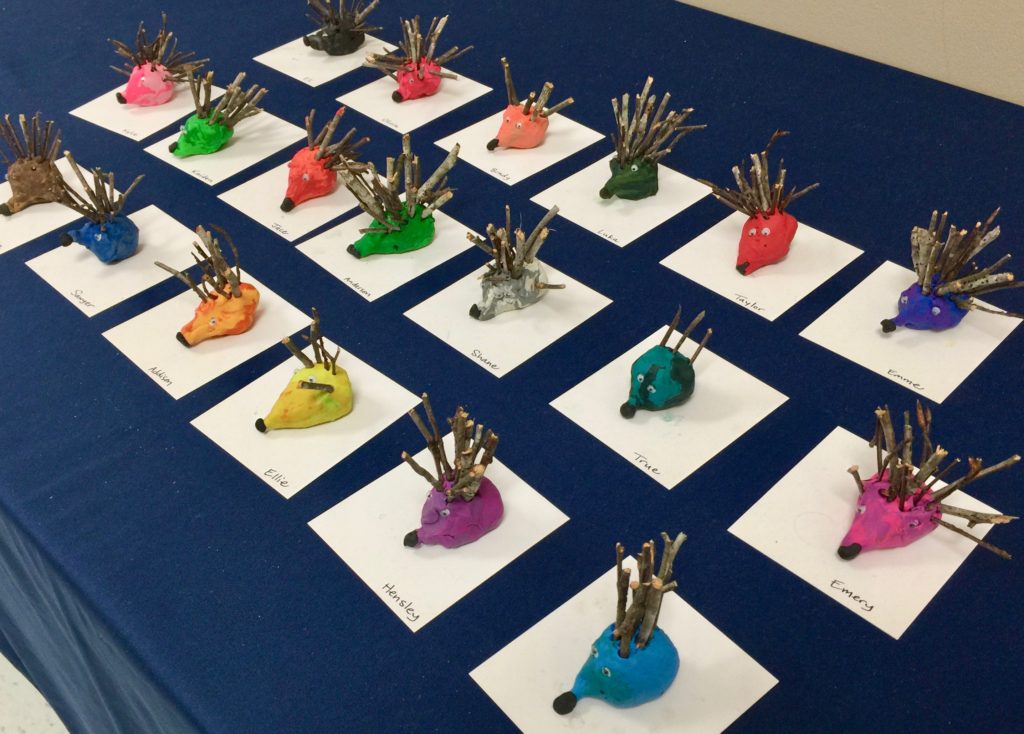
On Display
To display these, I cut small rectangles of card stock and write each child’s name in Sharpie at the front. Then I place one hedgehog on each rectangle and set them out for display. (When I send them home, I just put the sculpture, still “stuck” to the card stock, into a small Ziploc sandwich bag.)
You could just as easily call these “porcupines” instead if that fits into your curriculum better than “hedgehogs.” Have fun! For another simple preschool sculpture (this one using Model Magic), check out my tutorial on Eric Carle-inspired “V is for Very Hungry Caterpillar” sculptures!
What other ideas have you tried for a preschool art project using natural materials? Or what other animal sculptures have you or your students created incorporating items found in nature?