Life Lessons from Dr. Seuss
Around early March each year, our school (along with many others, I’m sure) celebrates Dr. Seuss’s birthday and Read Across America week. So I like to do several Dr. Seuss-inspired projects with different grades. I had also been looking for a way to incorporate quilling into one of my elementary art projects.
In fourth grade, we read the Dr. Seuss poem “Gertrude McFuzz” from the book Yertle the Turtle (or I show them a read-aloud of the story on YouTube—for some reason they pay better attention to the story when it’s read by someone other than me!). This story is about a bird who isn’t happy with her single tail feather. She compares her tail to another bird who has two tail feathers, and to show up the other bird, Gertrude eats pill-berries to help her tail grow more feathers (which, naturally, ends in disaster).
I always ask the fourth graders how they would describe the “moral of the story” or the lesson it teaches, and they answer with things like “Be happy the way you are,” “Don’t be jealous of what someone else has,” and even “Don’t do drugs” (always good advice!).
Cut and Torn Paper Collage
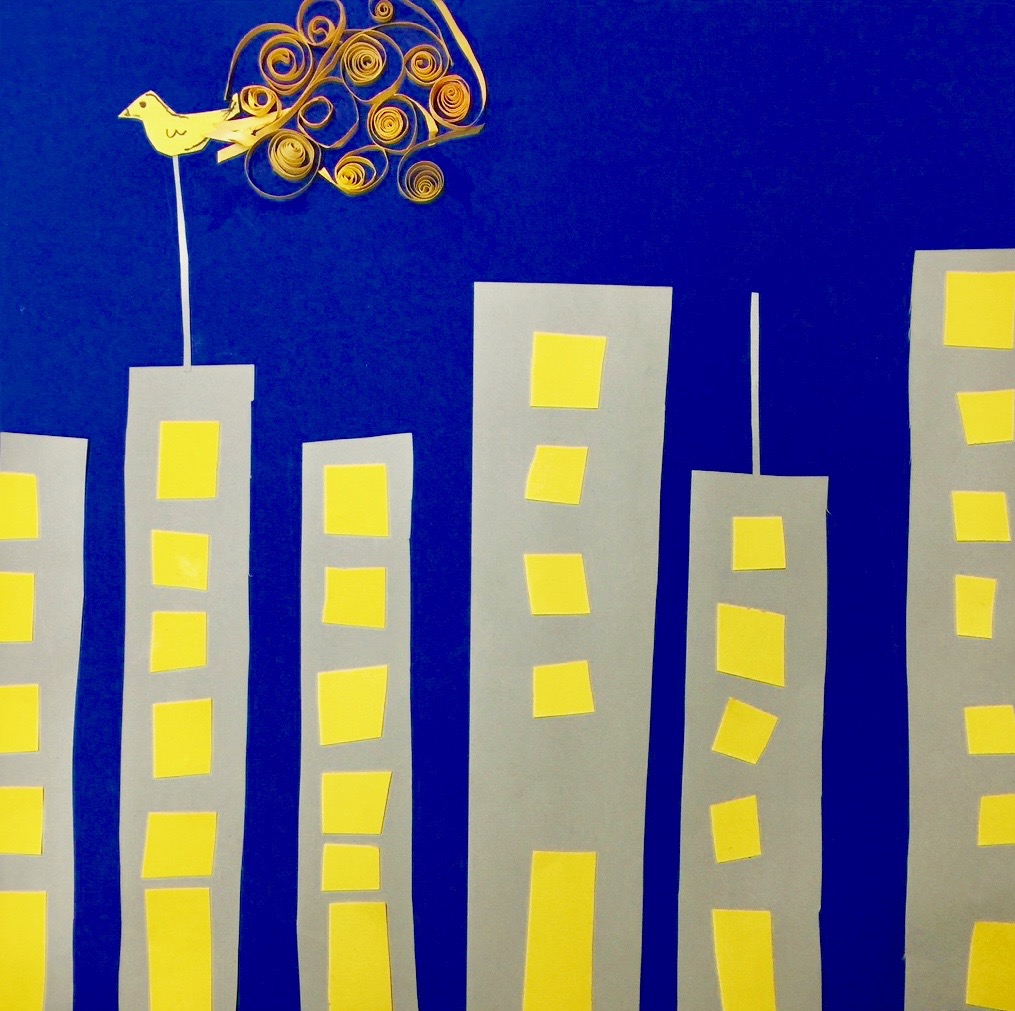
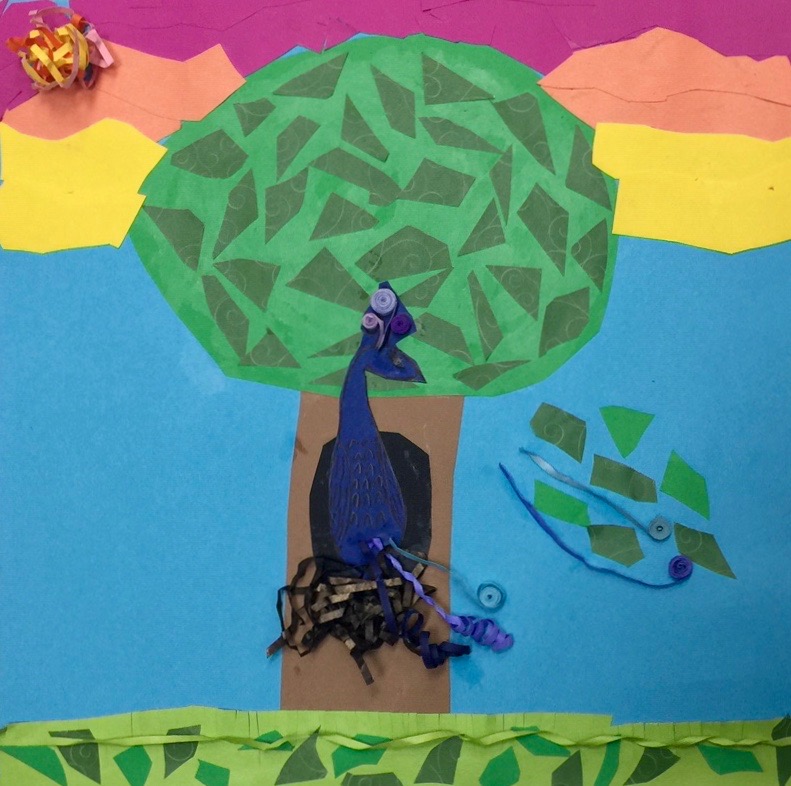
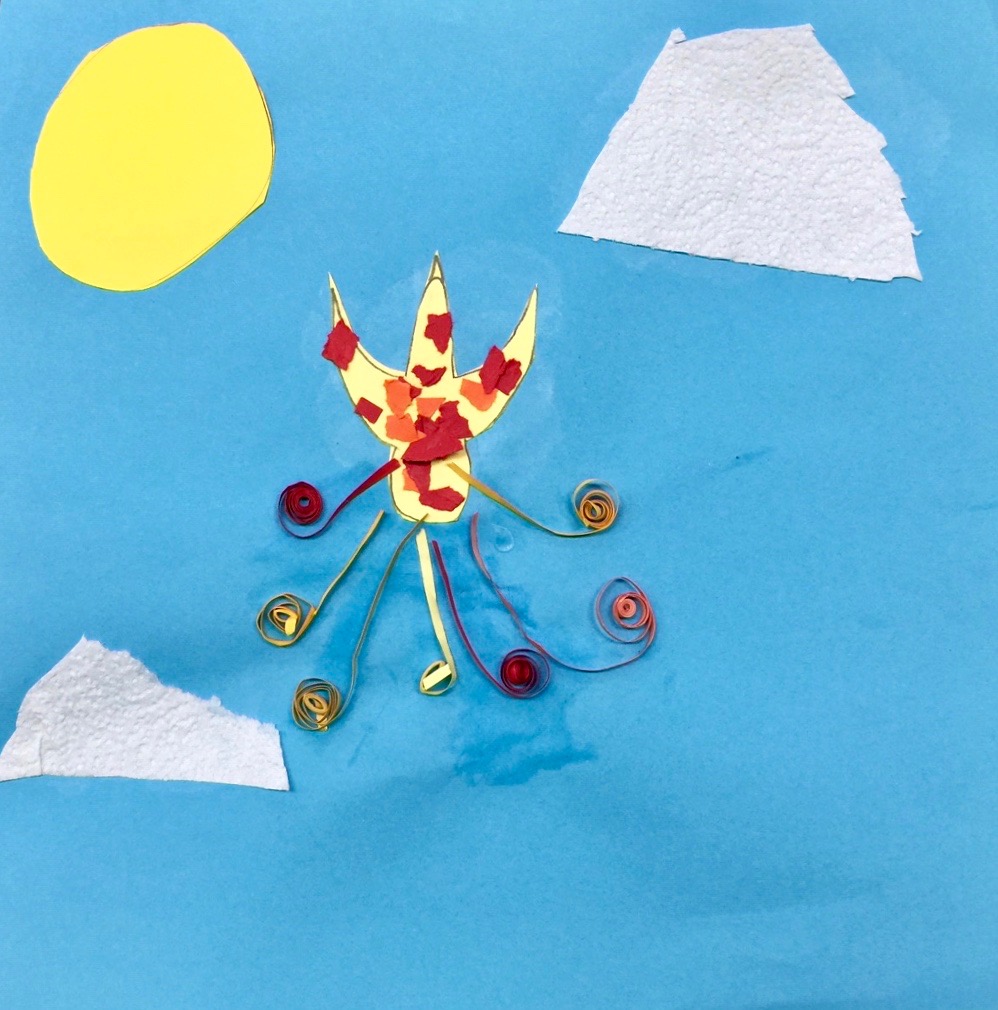
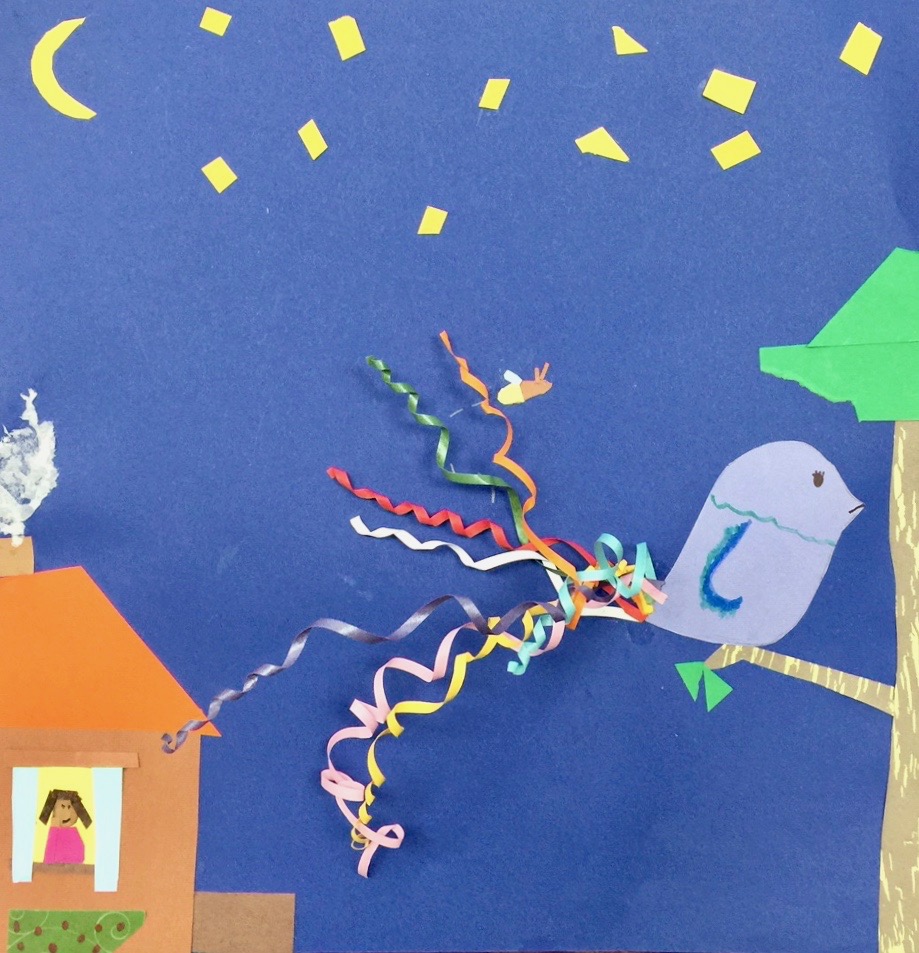
For our art project, students use Gertrude as the inspiration for a collage in which they create a bird with an impressive tail. This is open to interpretation, so I’ve seen them make everything from peacocks to penguins, owls, ostriches and completely original birds—this year someone made a “taco-bird” where the toppings were also the tail feathers!
After planning out an idea in their sketchbooks, students start with 12 inch x 12 inch sheets of colored paper for the background, and then they create a background collage from scraps of colored and patterned papers. I encourage them not to do any drawing if possible (though at the end some do end up drawing a few details with pen or marker)–all of the shapes really should be cut out or torn from paper. For the collage, glue sticks work well to glue everything down.
“Make” Your Tail Feather…
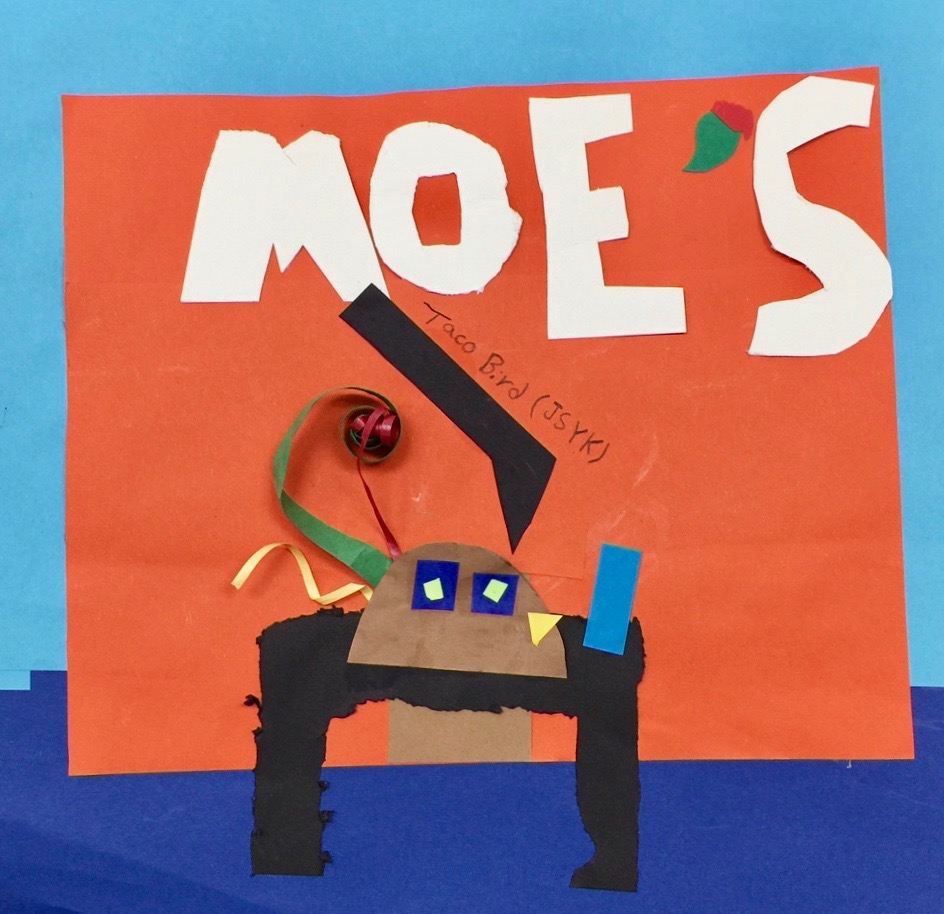
Then they create the tail by “quilling” thin strips of paper. Quilling is a form of paper sculpture that involves creating paper coils and gluing the paper down on its edge. I have seen impressive quilling projects created by older students, but it can be a challenge for those in younger grades. This is a great way to introduce quilling in an elementary art project because the quilling is only a small part of the overall artwork. Before students try quilling, we look at examples by Jitesh Patel, and I demonstrate how to quill the paper strips for the class.
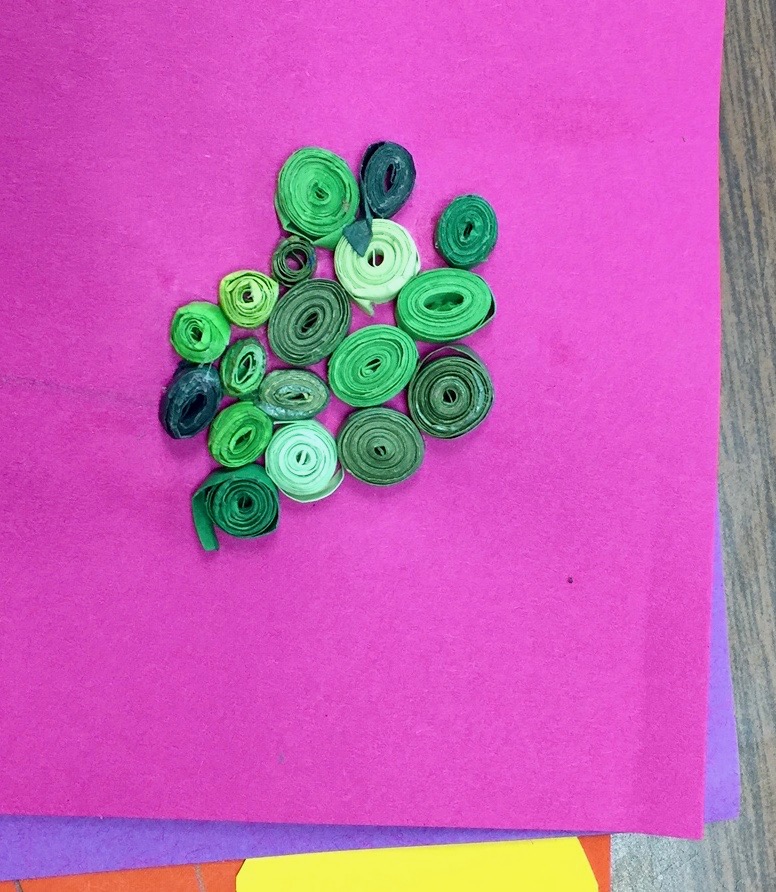
I purchased a class set of quilling tools and the pre-cut strips of quilling paper, so when students are ready, they choose strips of paper, insert the end into the quilling tool, and begin rolling the paper into coils. This part definitely takes some practice for fourth graders. Sometimes kids struggle with using the quilling tools and I tell them they can try wrapping the paper around a pencil or even a toothpick, which gives a similar effect (this could also be done if you don’t have the budget for 20 or 25 quilling tools).
Then students use toothpicks and white glue to attach the paper coils to the paper. They dab glue onto the paper and hold the coils in place until it sets (this part is also a bit tricky because they are trying to get the quilling paper to stand on its thin edge).
Have fun!
Some students only make a couple of tail feathers, while others find that they love quilling and add coils for their leaves, clouds, and many other parts of their scene! Students also end up gluing paper strips that are not technically examples of quilling but more like spirals and other configurations–they just have fun with it!
I highly recommend adding Yertle the Turtle and Other Stories to your art room library!
Also, a quick note about the quilling tools: I have purchased another brand of quilling tools from Blick, and the kids kept telling me over and over that they couldn’t get the paper into the slot. After looking more closely, I realized that the slots were getting squeezed closed, or were so tight to begin with that the paper wouldn’t go in! This brand from Amazon has worked much better so far. Try them out and let me know if you try quilling with your elementary students!
(And don’t forget the quilling paper!)