Cut-Paper Ovals and O’s
In the pre-K program at my school, the classroom teachers have the four- and five-year-old students learn about one letter of the alphabet each week. So, I try to tie in a lot of the projects we make in art to the letter of the week.
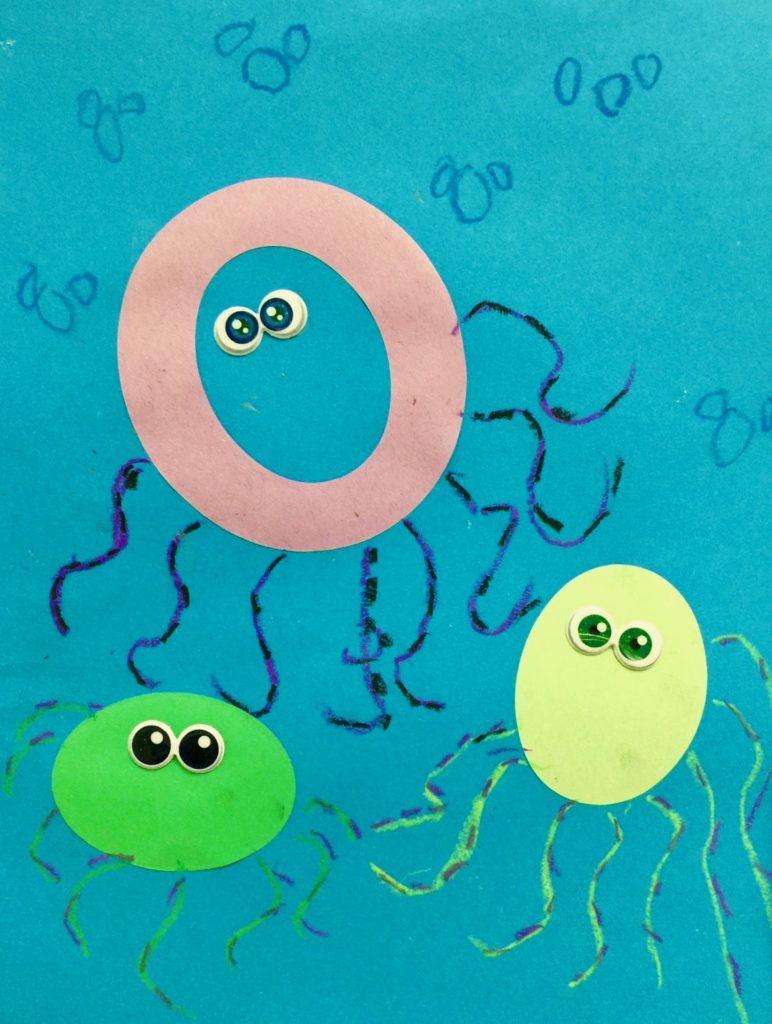
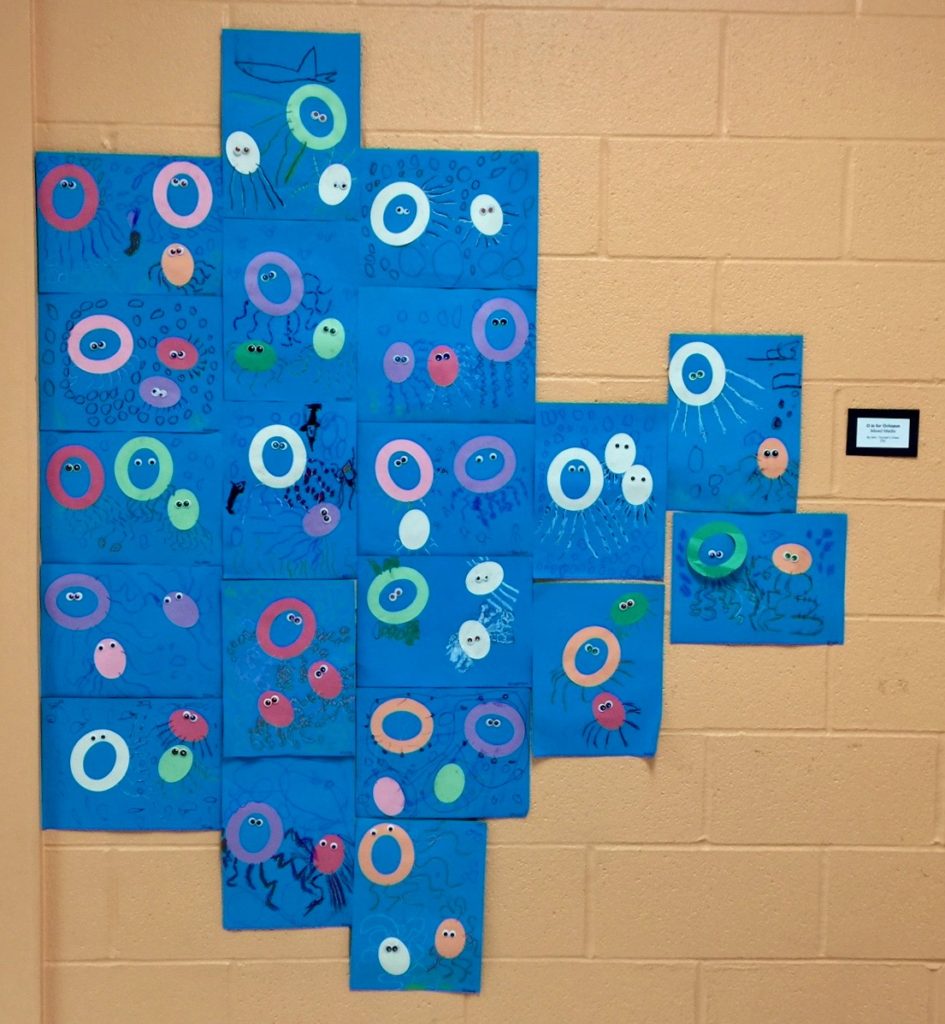
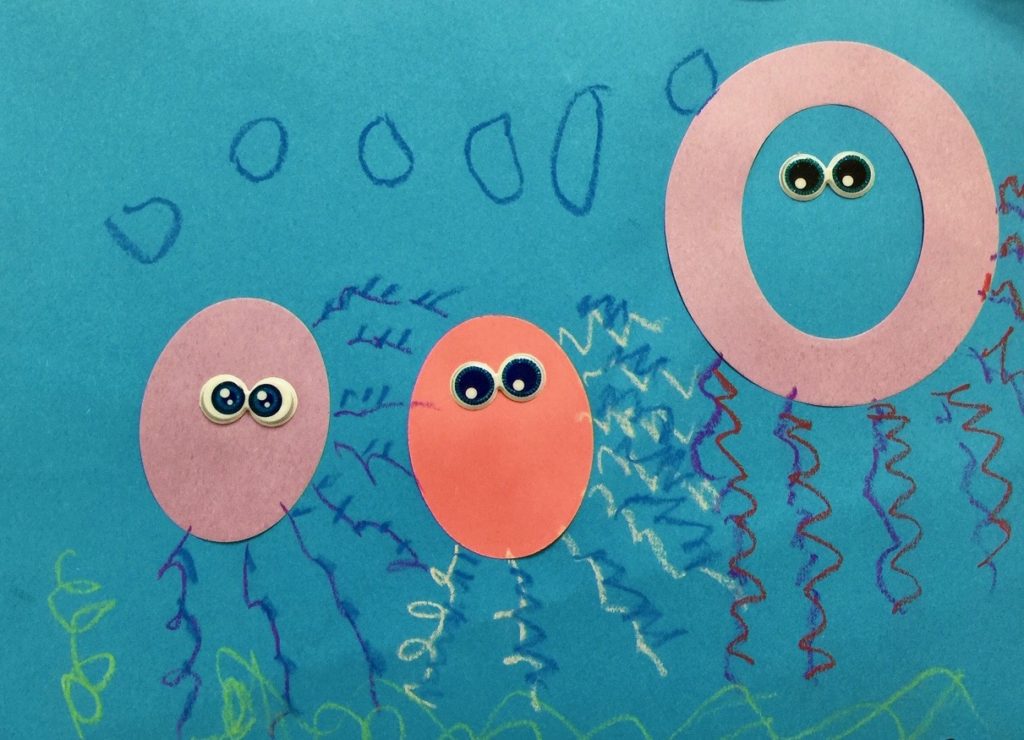
When they studied O, we made an “O is for Octopus” mixed media collage. I used my school’s die-cut machine to cut out a bunch of letter O’s from colored construction paper. This yields not only the oval-shaped O but also the inner oval, so you get double the shapes! You could also use a Cricut machine or simply fold paper (or, for an easy hack, cupcake wrappers!) and cut out the O’s and inner ovals or circles by hand.
Under the Sea
In the art room, we looked at some pictures of octopuses (octopi?) and talked about where they live, the shape of their head/body, the number of arms they have (eight!), and how their arms are covered with suction cups. Fun fact: I learned that octopus arms are NOT the same as tentacles! (I’ve been incorrectly calling them tentacles my whole life!) Students chose their colors of O’s and ovals and used glue sticks to glue them to blue paper.

Next, the TK students used construction paper crayons to draw the arms, and many correctly drew eight on each octopus. Some even added suction cups! We also talked about drawing O’s in the background for bubbles. A few students added other sea creatures as well.
I found a bunch of funny googly-eye stickers, so students got to choose one pair of eyes for each octopus, peel the back off, and stick down on the face.

I thought these turned out really cute! What other projects could we try for O next year?

